


This article was written and reviewed by Serge, MSc. I hold degrees in Plant Biology, Environmental Biology and Biogeochemistry, with research experience in plant physiology, ecosystem science, and field-based environmental studies. Every article on this site is grounded in real academic training and genuine scientific research.
Most gardening problems people blame on pests, weather, or bad luck actually start in the soil. Yellowing leaves, stunted growth, poor flowering, fruit that never quite develops properly, these symptoms appear above ground but the cause is almost always below it.
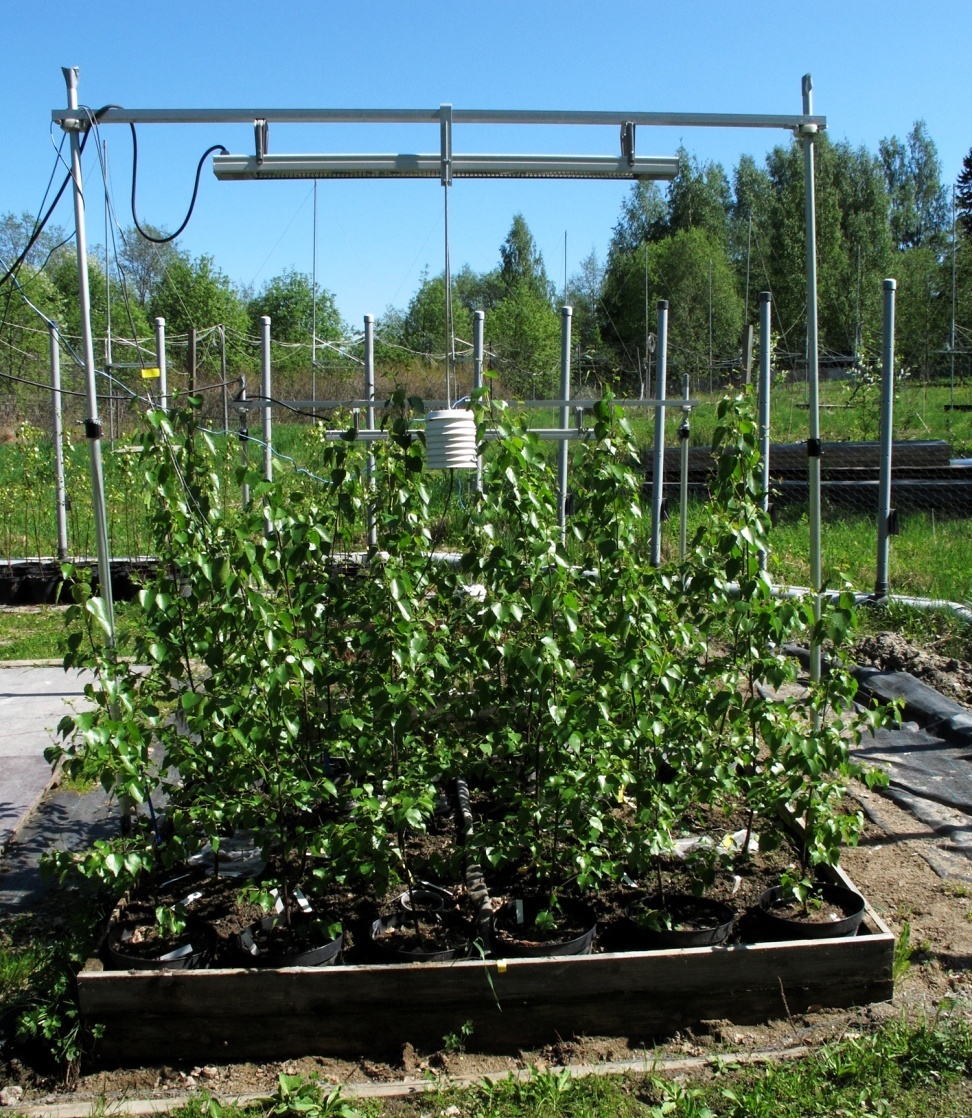
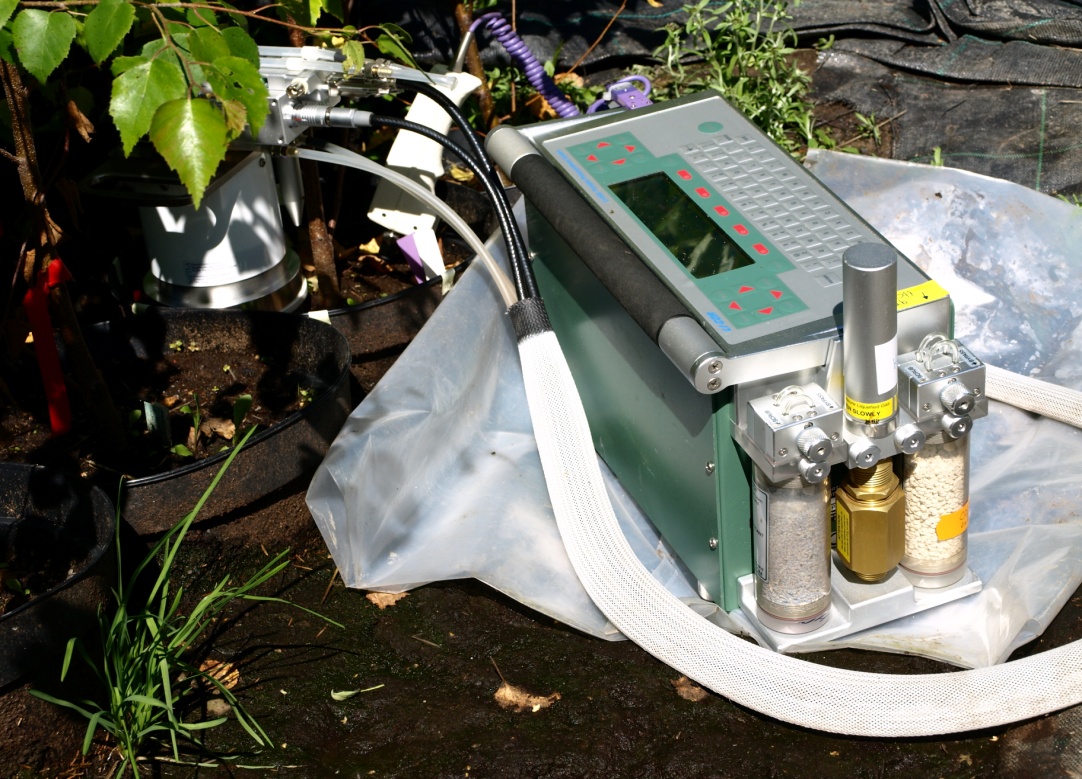
I spent a full growing season measuring what happens in soil at my field research site. I was not testing nutrients directly, I was measuring soil respiration, the rate at which soil microorganisms release CO₂ through their biological activity.
What those measurements consistently showed was how soil biological activity connects to underlying soil chemistry. Plots with better soil conditions showed more active microbial communities. The soil chemistry drove everything above it.
That experience reinforced something my biogeochemistry training had already made clear. Soil is not just a growing medium. It is a living biological system and its chemistry determines what plants can and cannot do. Testing that chemistry before you plant is one of the most practical things a gardener can do.
Here is what I look for in a soil test kit.
What a Soil Test Kit Actually Tells You
A good soil test kit measures the key chemical properties that determine whether your soil can support healthy plant growth:
pH, the single most important measurement. pH controls nutrient availability across the board. At the wrong pH nutrients already present in your soil become chemically locked up and unavailable to plant roots regardless of how much you feed.
My mineral nutrition studies covered this relationship in detail, the same chemistry that I studied formally shows up visibly in gardens every day as unexplained deficiency symptoms in otherwise well-fed plants.
Nitrogen (N), drives leafy growth and chlorophyll production. Low nitrogen produces pale yellow leaves and slow growth. High nitrogen produces lush green growth but poor flowering and fruiting.
Phosphorus (P), essential for root development, flowering, and energy transfer within the plant. Deficiency shows as purple-tinged leaves and poor root establishment in young plants.
Potassium (K), regulates water movement within plant cells, drives fruit development, and supports disease resistance. Deficiency shows as brown leaf edges and poor fruit quality.
Some kits also test for calcium, magnesium, and organic matter content. These additional measurements give a more complete picture of soil health but the four above cover the most common causes of garden problems.
Types of Soil Test Kits
Chemical indicator kits:
The most common home garden option. You mix a soil sample with a chemical solution and compare the colour change against a reference chart. Simple, cheap, and gives results within minutes. Accuracy is reasonable for practical gardening decisions , good enough to tell you whether your soil is significantly acidic, alkaline, or deficient in key nutrients. Not laboratory precision but more than adequate for most home gardeners.
Digital meter kits:
Electronic probes that give numerical readings for pH and sometimes nutrient levels. More precise than colour comparison kits and easier to read consistently. pH meters within this category vary significantly in accuracy, see the pH meter article for what to look for specifically.
Laboratory soil tests:
You send a soil sample to a laboratory and receive a detailed analysis report. The most accurate option available. Many agricultural extension services and specialist labs offer this affordably. For serious vegetable growing, new garden beds, or persistent unexplained problems a laboratory test gives far more actionable information than any home kit.
Rapid test strips:
Dip strips that change colour when inserted into a soil solution. Quick and very cheap but least accurate of the options. Fine for a rough initial check but not reliable enough for making significant soil amendment decisions.
What I Look for When Choosing
What parameters it tests:
At minimum I look for a kit that tests pH, nitrogen, phosphorus, and potassium. A kit that only tests pH misses half the picture. One that also tests calcium and magnesium is better still for a complete baseline assessment.
Number of tests included:
Soil varies significantly across a garden. A single test from one spot tells you very little about the garden as a whole. I look for kits that include enough tests to sample multiple locations, at least five to ten across a typical garden bed to get a representative average.
Colour chart clarity:
For chemical indicator kits the colour comparison chart determines how accurately you can read the result. Clear distinct colour differences between readings make results easier to interpret. Kits with very similar adjacent colours on the chart are harder to read accurately especially in outdoor light conditions.
Instructions clarity:
Soil preparation before testing matters enormously for accuracy. Good kits give clear instructions on soil to water ratios, sample preparation, and how long to wait before reading results. Poorly written instructions produce inconsistent results regardless of kit quality.
Shelf life:
Chemical reagents degrade over time. Check the expiry date on any kit you buy and store unopened kits in cool dry conditions to maximise reagent life.
How to Get Accurate Results From a Home Soil Test Kit
The kit itself is only as good as the sample you give it.
Collect from the root zone. Surface soil is not representative of what plant roots actually experience. Sample from 10 to 15 cm depth where roots feed and where soil chemistry most directly affects plant performance.
Take multiple samples and mix them. Collect soil from five to ten different spots across the area you are testing. Mix these together thoroughly and test the combined sample. This gives you a representative average rather than a result skewed by one unusual spot.
Test when soil is moist but not waterlogged. Very dry soil and waterlogged soil both give less reliable results than soil at normal field moisture. Test a day or two after rain or irrigation.
Follow the soil to water ratio precisely. Adding too much or too little water changes the concentration of the test solution and shifts results. Use a measuring syringe or dropper rather than estimating.
Read results in consistent light. Colour comparison results look different in bright sunlight versus shade. Read your results in the same light conditions each time for comparable results.
When to Test Your Garden Soil
Test before planting anything new, especially in beds you have not grown in before. This gives you a baseline to work from and lets you make amendments before plants are in the ground rather than trying to correct problems around established roots.
Test again after adding significant amendments like lime, sulphur, or large amounts of compost. These change soil chemistry and it takes time for the full effect to show up in test results, typically retest three to six months after amending.
Annual testing at the start of the growing season keeps you informed about how your soil is changing over time and lets you catch developing imbalances before they show up as plant problems.
Frequently Asked Questions
Do soil test kits really work?
Good quality chemical indicator kits give reliable results for practical gardening decisions. They are not laboratory precision instruments but they identify significant pH imbalances and nutrient deficiencies reliably enough to guide amendment decisions. The most common reason home soil tests disappoint is poor sample collection rather than kit failure. For persistent problems a laboratory test gives far more detailed information than any home kit.
Are home soil test kits accurate?
Accurate enough for most gardening purposes. pH readings from good quality kits are typically within 0.5 pH units of laboratory results which is sufficient for making amendment decisions. Nutrient tests are less precise than laboratory analysis but reliable enough to identify significant deficiencies.
What is the best way to test garden soil?
For a complete accurate picture send a sample to a laboratory. For practical home monitoring a good quality chemical indicator kit testing pH, nitrogen, phosphorus, and potassium gives actionable results. Always collect samples from the root zone and mix samples from multiple spots across the area you are testing.
Should I test my garden soil?
Yes, especially before planting in a new bed, after making significant soil amendments, or when plants show unexplained deficiency symptoms. Testing removes the guesswork from amendment decisions and prevents spending money on fertilizers that cannot work because the underlying soil chemistry is blocking nutrient uptake.
When should I test garden soil?
Before the growing season starts is the most useful time. This lets you make amendments and allow them to take effect before plants go in. Also test three to six months after adding lime or sulphur to check whether the amendment has achieved the target pH change.
How do I test garden soil at home?
Collect soil from the root zone, 10 to 15 cm deep, from five to ten different spots across the area you are testing. Mix these samples together. Follow the kit instructions precisely for soil to water ratio and waiting time. Read results in consistent light conditions and compare against the reference chart provided.
Can I test my garden soil for contaminants?
Standard home soil test kits do not test for contaminants like lead, PFAS, or heavy metals. For contamination testing you need a specialist laboratory service. This is worth doing if you are growing food in urban soil, near old industrial sites, or in gardens with a history of paint or lead pipe use.
How often should I test my garden soil?
Once a year at the start of the growing season for established gardens. More frequently when actively amending soil to track whether changes are achieving the desired effect. New garden beds benefit from testing before planting and again after the first growing season.
Test First, Then Act
The most common soil amendment mistake is adding fertilizer or lime without knowing what the soil actually needs. A soil test takes twenty minutes and tells you exactly what you are working with before you spend money on amendments that may not address the real problem.
Test the soil. Read the results. Make targeted amendments based on what the data shows. This approach produces better results than guessing and saves money on unnecessary products.
Browse soil test kits on Amazon and compare options at every price point.
This page contains affiliate links. If you purchase through these links I may earn a small commission at no extra cost to you.