


This article was written and reviewed by Serge, MSc. I hold degrees in Plant Biology, Environmental Biology and Biogeochemistry, with research experience in plant physiology, ecosystem science, and field-based environmental studies. Every article on this site is grounded in real academic training and genuine scientific research.
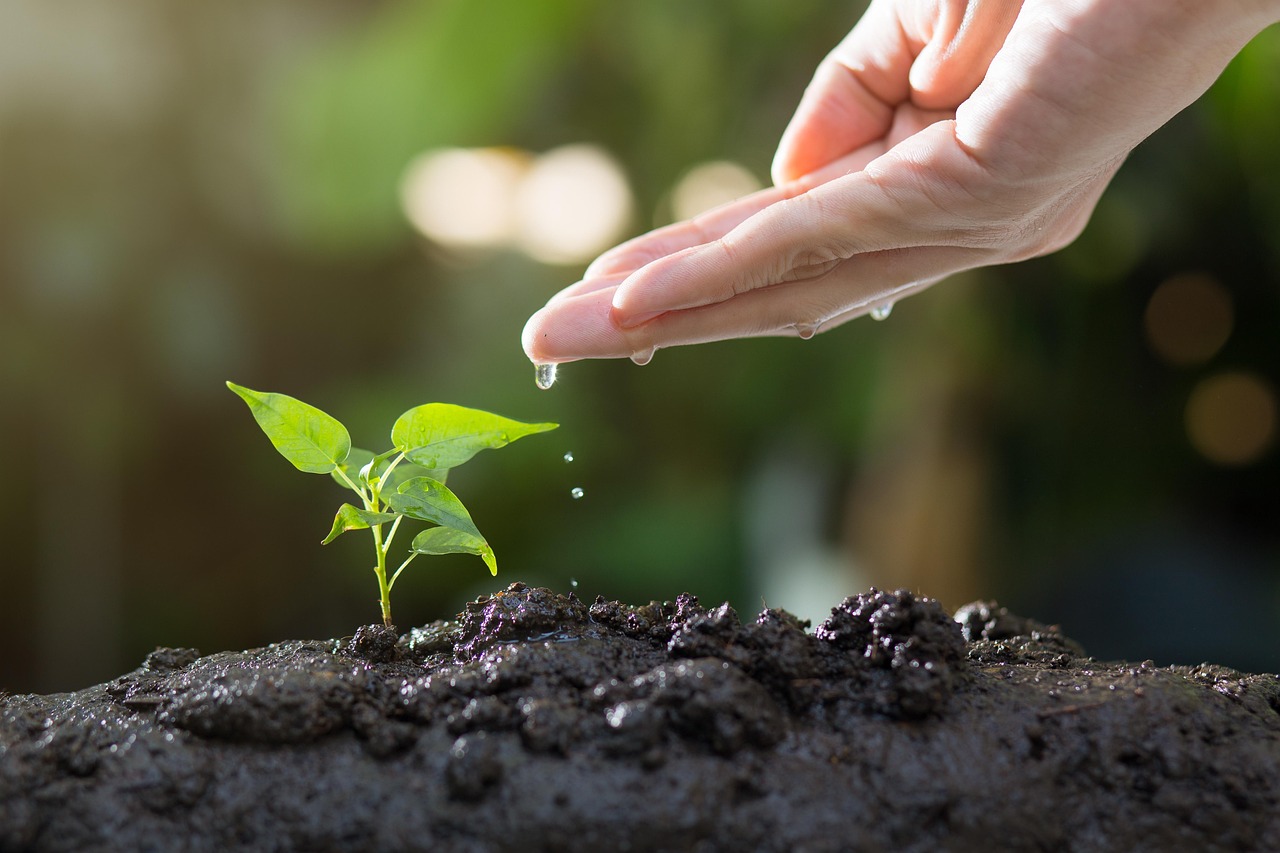
Soil is not what feeds plants. Water is.
I know that sounds wrong at first. But think about it this way. Plants absorb nutrients as dissolved mineral ions from water moving through their roots. Soil just holds water and nutrients near the root zone. Remove the soil, replace it with a properly balanced nutrient solution, and the plant grows just as well.
I studied plant nutrition formally as part of my plant biochemistry training and this principle sits at the core of everything hydroponics is built on. You can demonstrate it yourself at home in an afternoon with equipment you probably already have.
Here is exactly how to do it.
What You Need
Basic version, water rooting:
A clean glass jar
Fresh mint, basil, or green onion stems from your kitchen
Clean tap water left overnight to dechlorinate
A bright windowsill
Advanced version, nutrient comparison:
Two identical glass jars
Two identical cuttings of the same plant
Basic hydroponic nutrient solution, available cheaply online
A pH testing kit
A small fish tank air pump and air stone, optional but helpful
Start with the basic version. It works reliably and teaches you the core principle clearly.
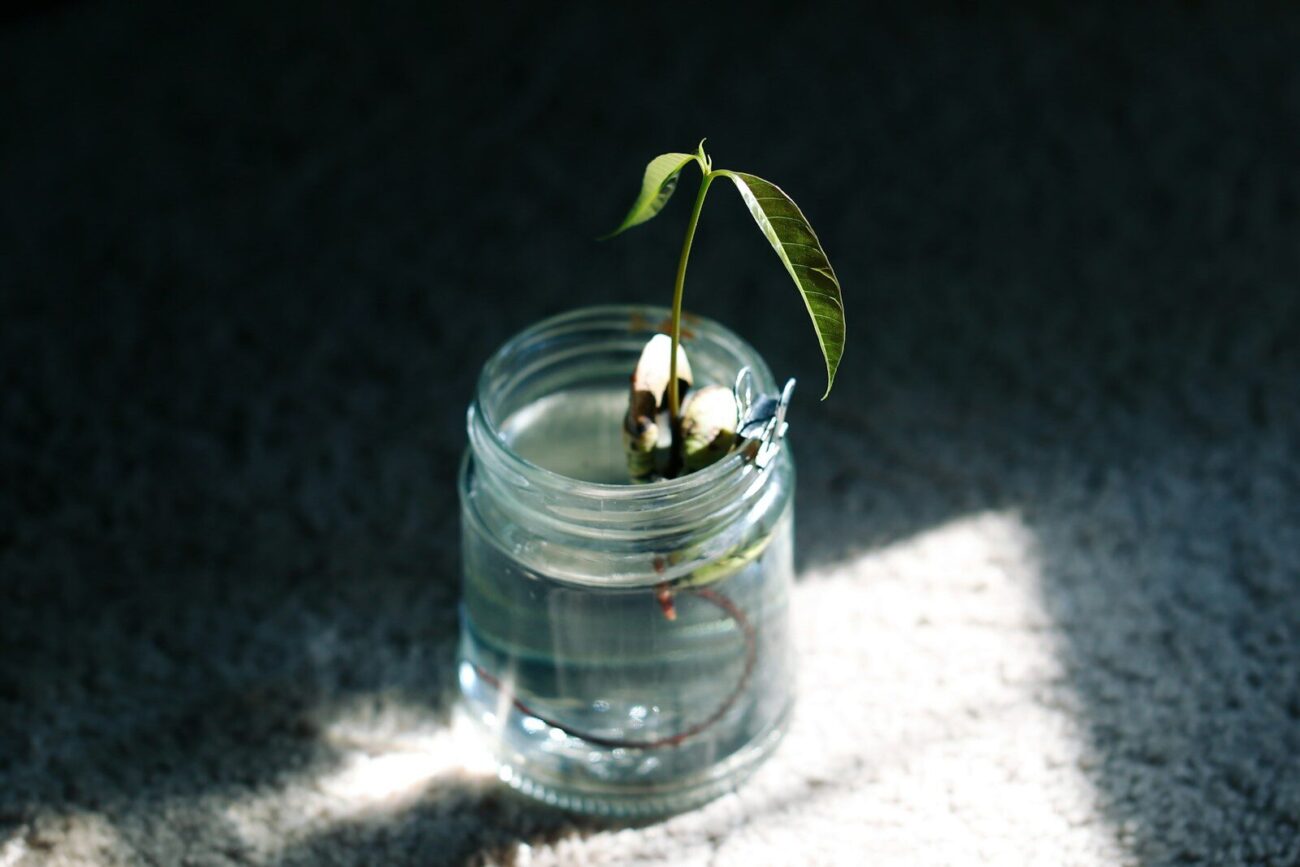
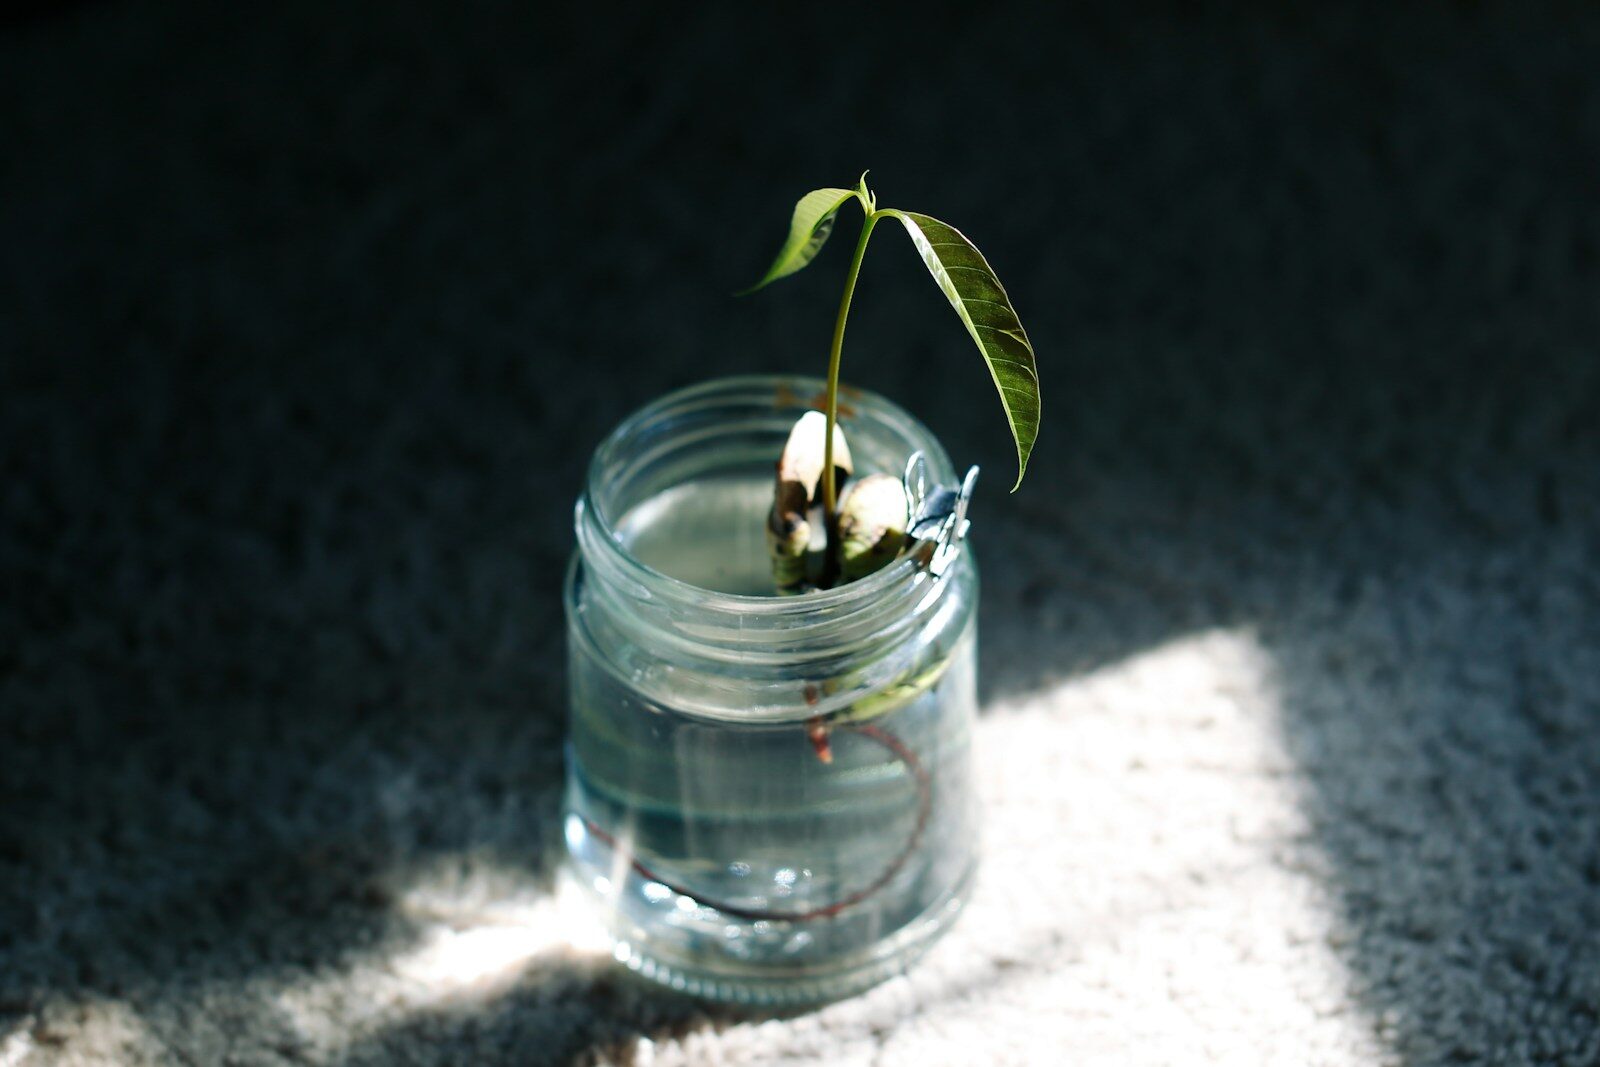
Basic Experiment: Water Rooting
Step 1. Take your cutting
Cut a healthy mint or basil stem about 10 to 12 cm long. Cut just below a leaf node. Remove all leaves from the bottom half. Leave the top leaves intact.
Mint is my top recommendation here. It roots faster and more reliably than almost anything else. I have used it as a model plant for demonstrating vegetative propagation because the results are so consistent.
Step 2. Place in water
Put the cutting in a clean jar filled with room temperature water. The bottom of the stem should sit submerged. Keep the leaves above the waterline, submerged leaves rot and contaminate the water.
Step 3. Position in light
Place on a bright south or west facing windowsill. The plant needs light to photosynthesize and produce the energy it needs to grow new roots.
Step 4. Change the water regularly
Change the water every 2 to 3 days. This prevents bacterial buildup and keeps oxygen levels high around the developing roots.
Step 5. Observe daily
Roots appear from the nodes on the submerged stem within 7 to 14 days. Record when roots first appear, how fast they grow, and whether the plant produces new leaves.
Advanced Experiment: Nutrient Comparison
This version runs two cuttings side by side. One in plain water, one in a dilute nutrient solution. The difference in growth makes the role of mineral nutrition visible and measurable.
Set up two identical jars. Same size, same cutting species, same cutting length. Place both in identical light conditions.
Jar 1: Plain dechlorinated tap water
Jar 2: Dilute hydroponic nutrient solution at half the recommended strength
Check the pH of the nutrient solution. Most plants absorb nutrients most efficiently between pH 5.5 and 6.5. Adjust if needed using a pH adjustment solution.
Add an air stone to each jar if you have one. Roots need oxygen. Roots consume oxygen actively and growth slows significantly without adequate oxygenation.
Observe both plants over 4 weeks and record:
Root length and density
Number of new leaves
Overall plant height
Leaf colour and size
Any yellowing or browning
The plain water plant survives but growth slows after the first week or two as it exhausts the nutrients stored in the stem. The nutrient solution plant grows continuously. That difference is your result.
What Your Results Mean
Both plants root at similar speed: Root initiation depends on hormonal signals within the cutting itself, primarily auxin, not on external nutrition. This is normal and expected.
Nutrient solution plant grows faster after rooting: Once the plant exhausts its internal nutrient reserves, external supply becomes the limiting factor. This confirms the core principle of plant nutrition.
Plain water plant turns yellow after 2 to 3 weeks: Classic nitrogen deficiency. Without an external nitrogen source the plant cannot produce new chlorophyll. This is one of the most common deficiency symptoms in any growing system.
Roots look brown or slimy: Not enough water changes or insufficient oxygenation. Change the water immediately, clean the jar, and add an air stone.
Try These Variations
Once the basic experiment works, push it further:
Light comparison: Run three identical cuttings in identical nutrient solution but place them in different light conditions. Bright direct light, bright indirect light, and low light. Measure root development and new leaf production over 4 weeks.
Nutrient concentration: Run three jars, plain water, half-strength solution, full-strength solution. Record growth differences at each level.
pH test: Run two jars with identical nutrient solutions but adjust one to pH 5.0 and one to pH 7.5. Observe which plant grows better and why.
Each variation teaches you something different about the biology of plant growth. The light experiment connects directly to photosynthesis. The nutrient concentration experiment shows how excess feeding causes problems. The pH experiment explains why soil pH matters so much in garden growing.
Frequently Asked Questions
Can plants really grow without soil?
Yes. Plants absorb nutrients as dissolved mineral ions from water, not from soil particles directly. Soil holds water and nutrients near the roots but is not the nutrient source itself. Replace soil with a properly balanced nutrient solution and plants grow just as well, often faster.
What plants work best for soilless experiments at home?
Mint, basil, and green onions work best for beginners. Mint roots fastest and most reliably. Green onions show visible growth within days. Both make results immediately satisfying and easy to observe.
How long does the water rooting experiment take?
Most fast rooting plants like mint and basil show visible roots within 7 to 14 days on a bright windowsill. Warmer temperatures and brighter light speed up root development significantly.
Does celery absorb water?
Yes, very effectively. Place a celery stalk in coloured water and the colour travels up through the xylem vessels into the leaves within a few hours. This demonstrates water transport through plant vascular tissue and is one of the simplest plant biology experiments you can run at home.
What experiments can I do with plants at home?
Water rooting, nutrient comparison, light intensity comparison, pH effect studies, seed germination under different conditions, and transpiration experiments all work well at home with basic equipment. The water rooting experiment in this article is the best starting point because results appear quickly and the science behind them is directly applicable to real growing situations.
Is the IKEA plant experiment real?
Yes. IKEA ran a school experiment observing whether plants respond differently to kind versus harsh words. The underlying science about plant responses to sound and mechanical vibration is a legitimate area of plant biology research. Plants do respond to vibration and mechanical stimulation through specific physiological pathways, though the mechanisms are more complex than simply reacting to spoken words.
Run the Experiment This Week
You now have everything you need. No special equipment. No laboratory. Just a jar, some cuttings, water, and a windowsill.
Start with the basic version today. Watch the roots appear. Then run the nutrient comparison and see the difference mineral nutrition makes to plant growth with your own eyes.
The principles you observe here are the same ones that drive commercial hydroponic food production globally. Understanding them makes you a better grower in every context, from a kitchen windowsill to a full garden bed.
Run the experiment and share your results in the comments. I read every one and respond personally.